We are going to explain a small initial setup that you will need to do once you have Proxmox installed. The configuration is done from a Proxmox Virtual Environment.
The default user is root, and the password was chosen during the installation.
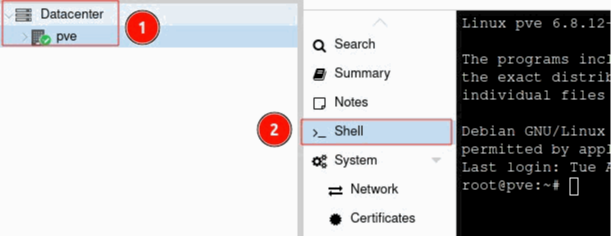
Step 1. Open a Shell:
## Go to DataCenter and click on the pve node
## Look for Shell and open it
Step 2. Install sudo:
$ apt install sudoStep 3. Change repositories: By default, Proxmox comes with Enterprise repositories, but we will change them to no-subscription repositories.
Path 1: sudo nano /etc/apt/sources.list
## Replace the repositories with the ones shown in the screenshot.

Ruta 2: sudo nano /etc/apt/sources.list.d/ceph.list
## Replace the repositories with the ones shown in the screenshot

Path 3: sudo nano /etc/apt/sources.list.d/pve-enterprise.list
## Comment out the line so that it doesn't look for anything in the Enterprise repository.

Step 4. Install Ceph (optional):
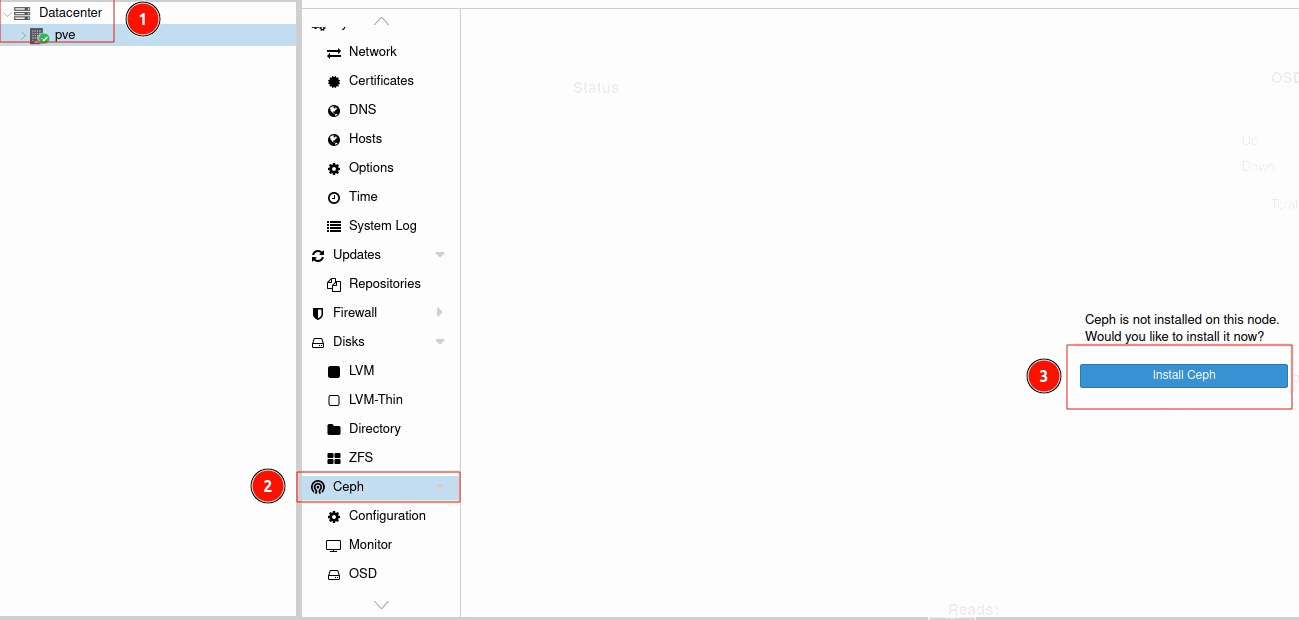
## Go to DataCenter and click on the pve node.
## Look for Ceph and click Install Ceph.
## In the Info window: Change the Ceph installation version to "squid (19.2)". Change the repository type to "No-Subscription".
## Start the Squid installation
## When you reach the Configuration tab, set it up as you prefer.
Step 5. Go back to the Shell and update:
$ sudo apt update && sudo apt full-upgrade -y && sudo apt autoremove -y
$ reboot
Step 6. Configure the two Serial ATA Controllers:
## Go to DataCenter and look for Resource Mappings.
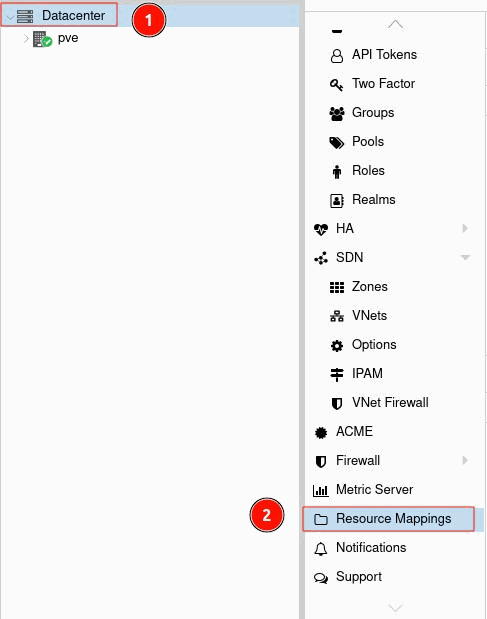
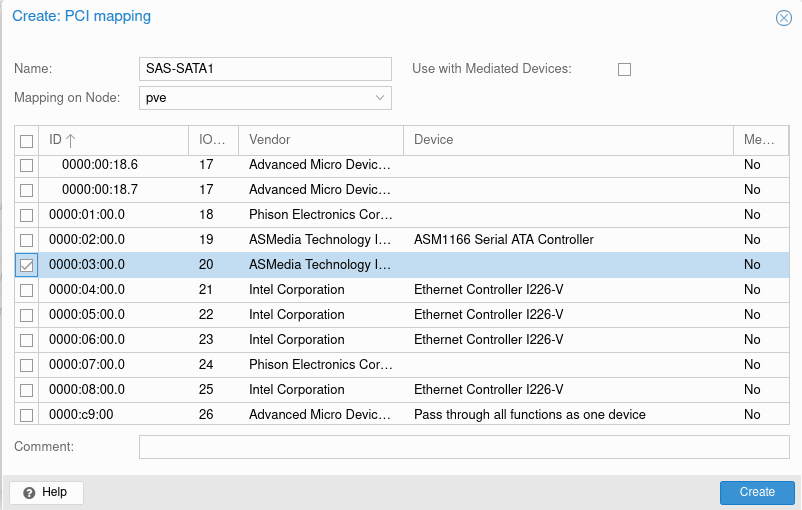
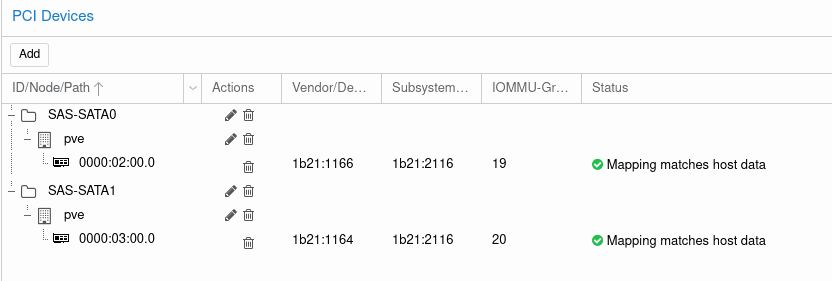
## Under PCI Devices, add two entries, one for each SAS

First entry: You can assign any name you like; we assigned SAS-SATA0. Look for the entry ASMedia Technology with ID: 0000:02:00.0 and click Create.
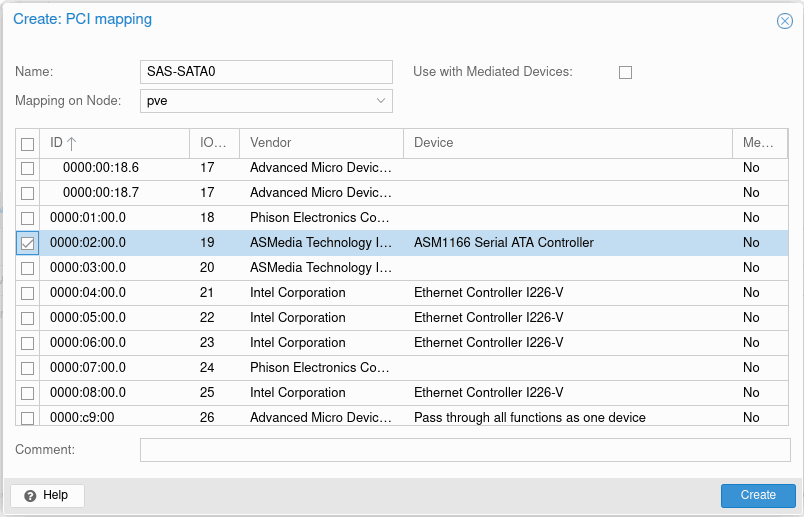
Second entry: You can assign any name you like; we assigned SAS-SATA1. Look for the entry ASMedia Technology with ID: 0000:03:00.0 and click Create.
## It should look something like this:
Step 7. These are some simple steps to allow you to continue with a more advanced system setup.
